Being dirty has never been this much fun!

Visit The Seattle Soap Shop at www.seattlesoapshop.com

Tuesday, January 15, 2013

Making Soap Curls

In a previous post, I talked about embedding soap curls in soap. Although it takes a lot more work to do, embedding makes for a fun and interesting finished product. Here are a few examples:

Honeysuckle Soap by The Seattle Soap Shop
Honeysuckle Soap with soap curls

Bubble Gum Soap by The Seattle Soap Shop
Bubble Gum Soap with soap balls

Girly Girl Soap by The Seattle Soap Shop
Girly Girl Soap with pink soap shreds
One great thing about making soap curls, shreds, balls, etc. is the opportunity to reuse leftovers from soaps that may not have turned out as originally planned. It also allows the soap maker to test out new colors without wasting extra ingredients. The Rosemary Mint Soap inserts were made when I tried out a new red mica. The color was not the true red I was looking for originally, but was perfect as an addition to my Rosemary Mint Soap.

Rosemary Mint Soap by The Seattle Soap Shop
Rosemary Mint Soap with vertical soap inserts


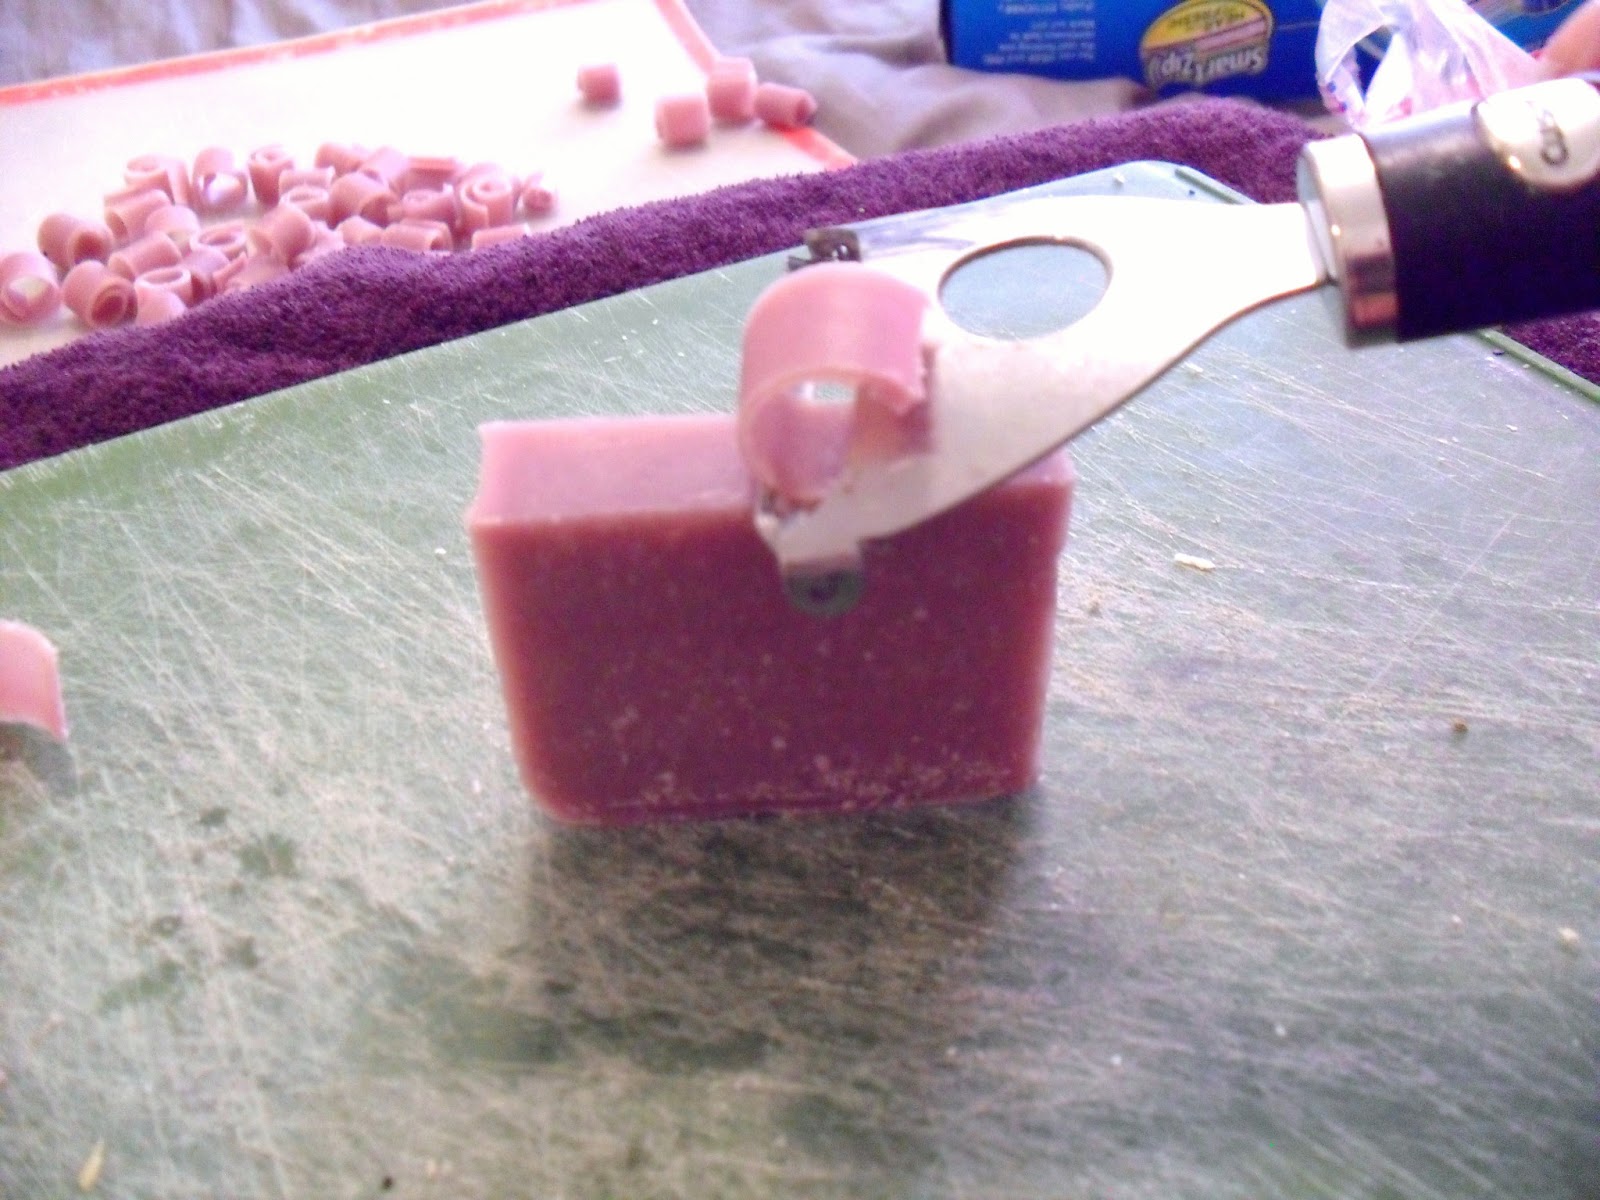
Soap curls are actually very easy to make. First start by selecting the soap you will use. Using a potato peeler or handheld cheese slicer (similar to what you see in this picture),carefully cut semi-soft soap into thin pieces. You want them to be thin enough to curl, but not so thin they are not able to be manipulated.


Using a pen or pencil, wrap the slices around the base and roll on a hard surface. Slide the curl off the end of the pen or pencil and voila! Soap curls!
Rolling the soap curls into shape using a pen
Soap embeds air drying before use
Finished soap curls

Easy and fun. Let them air dry in a plastic bowl or another open air container for a few days and they will be ready to use in your next batch of soap.

Tuesday, January 8, 2013

We love being social!

We are happy to announce the launch of The Seattle Soap Shop Facebook page!


Facebook will be the first place to go to learn all about what is going on at The Seattle Soap Shop. Our Facebook page will be the 'go to' place to:

 - Hear about new product announcements
 - Give us your feedback
 - Find out what soap scents are low or out of stock (so you can snag them before they're gone!)
 - Request your favorite scent or product
 - Ask us general questions
 - Learn about special Facebook only discounts and offers
 - Get great gift ideas for special occasions or just for fun

Please make sure you visit our page and 'Like' us, because after all...we 'Love' you!

Check our page our HERE

Wednesday, October 31, 2012

THE IMPORTANCE OF EMBEDDING SOAP CAREFULLY


Making soap can be a lot of fun. There are a ton of things you can do to your soap to make it more interesting. From colors, to scents, to swirling techniques, and adding other, premade soap shapes (also called embedding), the combinations are endless.

One of the fall favorites I enjoy making is an Orange Clove Soap. Orange Clove is a lovely spiced soap with a hint of citrus. I color it with Celestial Colors Orange dye and embed dark brown soap shavings on the bottom that I colored with cocoa powder. The soap is scented with a fragrance oil appropriately named, Orange Clove.

One thing I learned recently after cutting into a freshly made batch of Orange Clove Soap is: how I add inserts to the bottom of my soap mold is important! I used to just add them quickly and pour the fresh soap on top, but not anymore! 

As you can see, improperly placed embeds can produce interesting results. Whoops!
Unintentional Design in an Orange Clove Soap

You may find the resulting 666 pattern funny (it is Halloween, after all!) or offensive (sorry!) but either way, it wasn’t exactly the look I was going for. Lesson learned.

HAPPY HALLOWEEN!!!

Tuesday, October 30, 2012

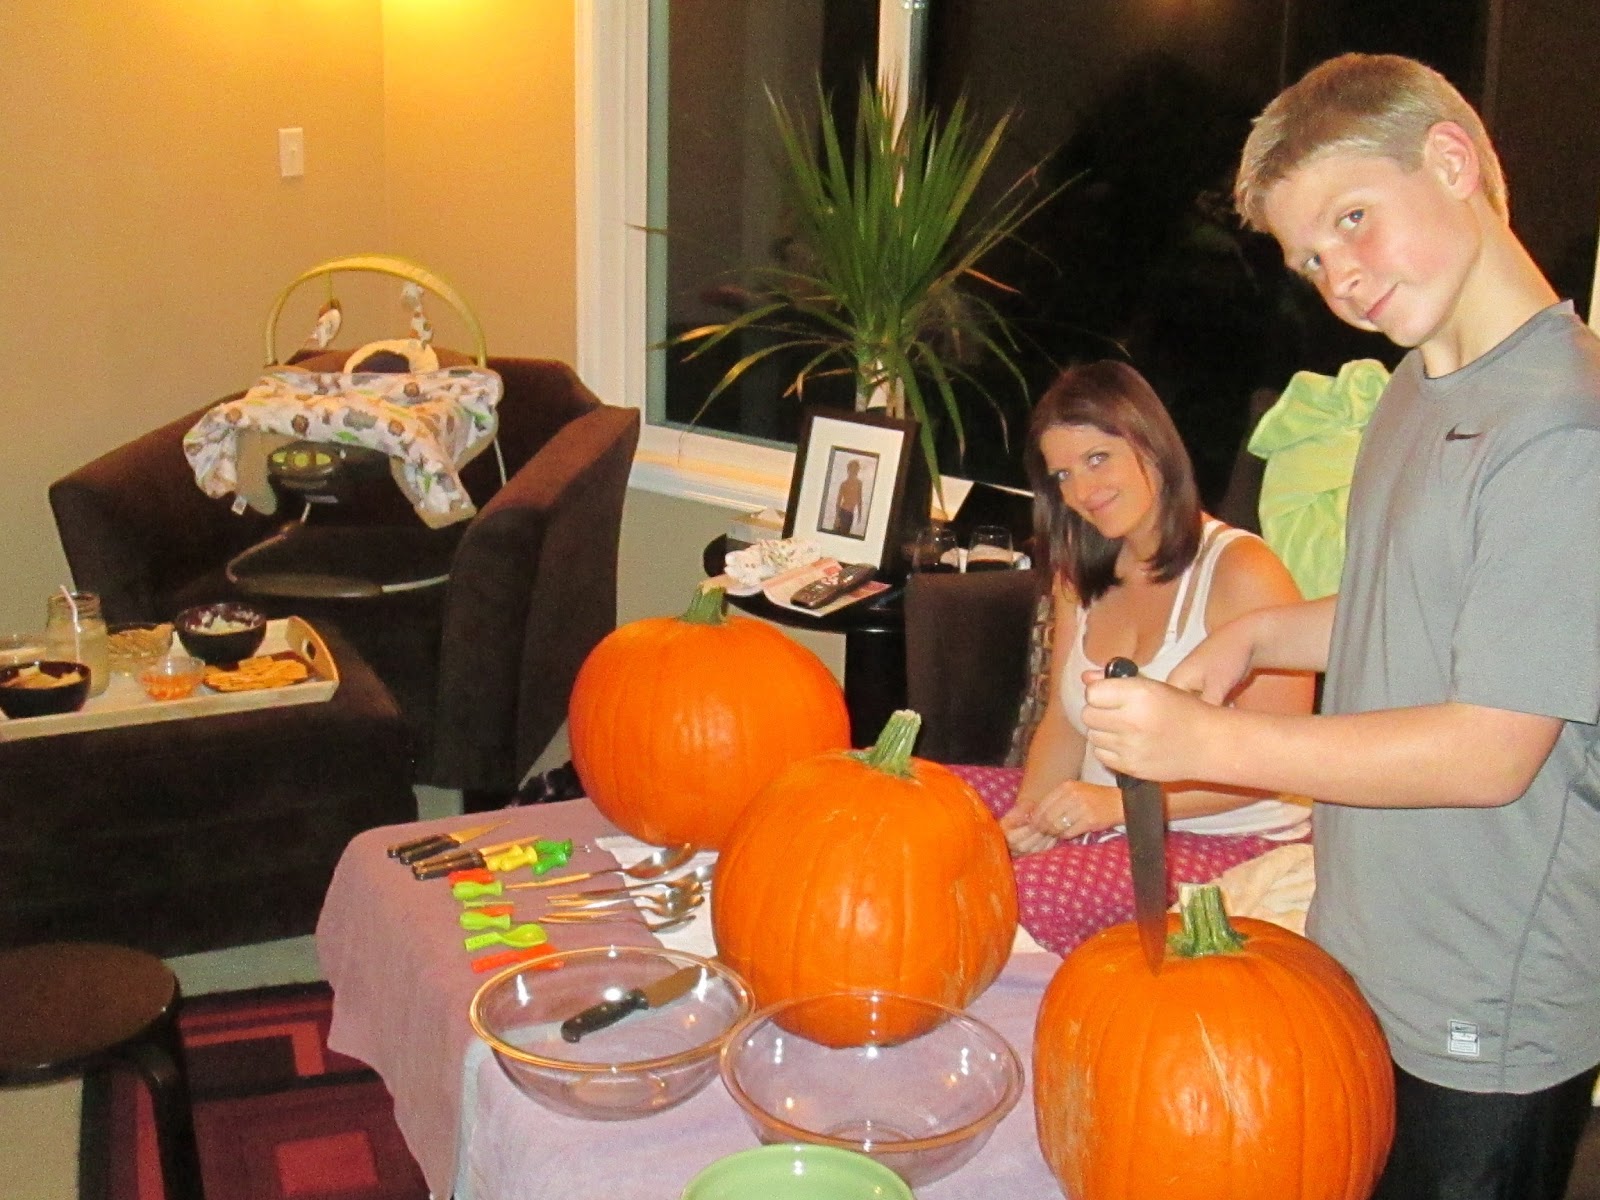
Our Annual Holbrook/Ebeling Pumpkin Carving Contest


Goofy picture before we get started

We are a pretty competitive little family. By this, I mean we love to razz one another and compete in a fun & silly way – not a negative & over the top sort of way. Now that my oldest son Nate is 13, the competition is even better! Add to the fact that my new husband has been added to the mix; well…let’s just say that the bar has been raised.

Throughout the year, we have a pumpkin carving contest, a Thanksgiving or Christmas cookie decorating contest, and an Easter egg dying contest. I used to be the winner more often than not. Not any longer!
We sent the below picture to a Facebook vote. The results? 

Spooky Tree (my husband’s): 9 votes
ACDC (my son’s): 5 votes
My husband Steve. 2012 winner!
Seahawks (mine): 4 votes

I must say, living in Seattle, I would have bet money that my Seahawks pumpkin would have dominated but I was in last place. Bummer. I’ll get them next time!

Nate and I


Here’s to you and yours incorporating your own fun family traditions – even if they include you losing a silly competition every once in a while.

Sunday, October 28, 2012

SHELLY’S GARLIC SALT & BUTTER PUMPKIN SEED RECIPE


There are two things I really look forward to when it comes to Halloween.
The candy? Nope.
The costumes? Nope.
The parties? Nope.
For this girl, it’s the annual Holbrook/Ebeling Pumpkin Carving Competition (post, pictures, and results are coming soon) and the PUMPKIN SEEDS! 

I realize that my pumpkin seed recipe isn’t unusual, or all that creative for that matter. What it is though is delicious. Delicious and fattening. Good thing they’re only made once a year, right? If you have only had store bought pumpkin seeds or have never had them at all, try my recipe out. I bet they are as addictive for you as they are for me!


Ingredients:
-          ½ cup salted butter (one stick)
-          Garlic Salt to taste
-          Fresh pumpkin seeds (as many as you can retrieve from your pumpkin(s)

Preparation:
-          Wash the outside of your pumpkin(s) and dry with a clean towel. I like to do this so as you cut into your pumpkin you aren’t contaminating the insides with the germs from the outside. Think of the germs your pumpkin likely came in contact with on the way to your grocery store, etc. before you purchased them.
-          Using a large kitchen knife, carefully cut around the top of your pumpkin to remove stem and allow access to the yummy pumpkin ‘guts’ and seeds on the inside. I like to make a pretty star pattern with mine, but that may just be my girly side coming out.
My husband Steve taking the top off his pumpkin
-          With a spoon, your hands, or a pumpkin carving scoop, remove the insides of your pumpkin and then separate the seeds from the guts. This takes a little patience but is well worth it.
-          Rinse seeds well in a colander and spread out evenly on an aluminum foil lined baking sheet.

*If you are in a hurry (like I usually am) to start chowing down on your seeds, put your seeds in a preheated oven (center rack) set at 200 degrees & slowly evaporate the excess water. Plan to keep them in there for about an hour (depending on how much water is on them) and make sure you check and stir them about every 15 minutes or so. They are ready for the butter and salt when they are about 90% dry. Use your discretion.
If you are not in a hurry, you can leave your seeds out overnight or a little longer (stirring occasionally if possible) and let them dry that way.
 
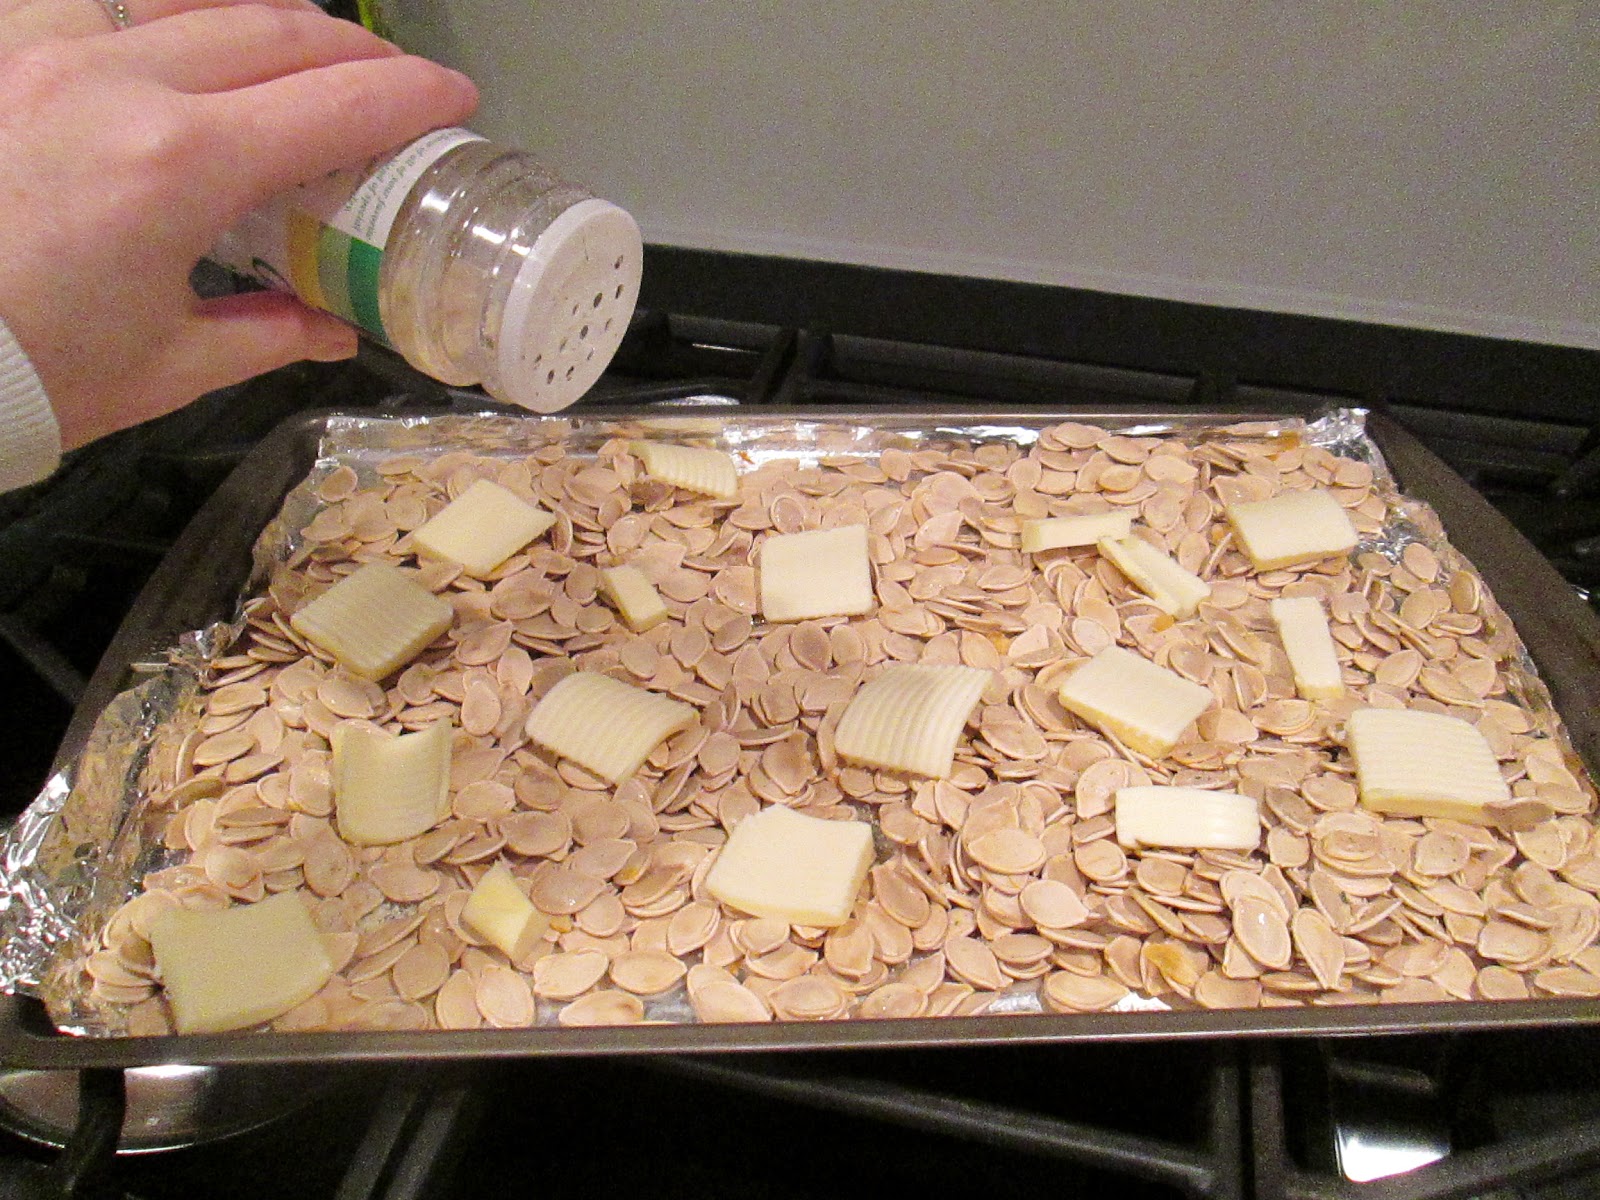
-          Using a small kitchen knife, cut butter up into chunks and add to your seeds
-          Generously sprinkle garlic salt all over your seeds, stir, and sprinkle a bit more for good measure
-          In a 325 degree oven, bake your seeds for about an hour (or until they reach the desired color of brown). Make sure you are completely coating them with the butter by thoroughly stirring every 15-20 minutes. When they are looking more and more brown, check on them/stir every 5-10 minutes.
-          Let them cool, put into an airtight container and enjoy!


Notes:
I tend to taste my seeds about ½ way through while baking. Sometimes I decide to add more garlic salt and sometimes if I am feeling a little naughty, I add a little more butter.
The seeds pictures here are not as browned as I usually like to make them. I like them dark brown and crunchy, but it really is a personal preference. I suggest tasting the seeds as you stir until they seem done to you. You may even want to take most of them out of the oven when you think they are done and continue cooking a small portion to see if you like them darker. You can always cook the ones you pulled out longer, or if you don’t end up liking them darker/crunchier, you haven’t ruined an entire batch.

Enjoy!!!

Thursday, October 11, 2012

SALMON DAYS WEEKEND!

My husband Steve and I

What an incredible weekend we had at the Issaquah Salmon Days! The sun was shining, the air was warm, and our customers came out in droves to meet us in person. On top of that, our soon-to-be-born son decided to let me enjoy the weekend and waited to come out. To be perfectly honest, I was obviously not thinking clearly when I booked the show only ten days before I was scheduled to have him, but it all worked out in the end. Next time I will NOT be doing a show while I am nine months pregnant.

Here are a few pictures for you to enjoy from the show. My husband, sister, son, and friends were all a HUGE help and I could not have done it without them. Thanks guys!

My son, Nate 'hard at work'
My girlfriend Celia (also very pregnant) and Steve


Tuesday, June 12, 2012

We are 'oh-fish-ally' a vendor at the Issaquah Salmon Days Festival!

If you aren't from my neck of the woods, you may be wondering, "What the heck is a Salmon Days Festival?" Well, it is (to quote the official website) the Pacific Northwest's most-beloved, family friendly, award-winning, and fishiest festival around. To be honest, saying something is the "fishiest" around doesn't sound too wonderful to me personally, but I happen to know they simply mean that everything is themed around the local salmon's return to their birth-waters. In fact, Issaquah has a beautiful, large salmon fish hatchery right in the middle of downtown Issaquah.

The festival started in 1970. In 1980 it became a Seafair sanctioned event, turning it into one of the biggest festivals in Washington State. The two day festival boasts 270 vendors (including yours truly!), 5 stages for entertainment and music, tons of arts and crafts booths, a parade to start the festivities, lots of games and activities for kids (including pony rides and face painting), 50 different food stands (yum!), and even a 5k/10k run for those who are so inclined.

This will be the Seattle Soap Shop's debut at Salmon Days and I couldn't be more excited! We have a ton of work to do to prepare, but it will be well worth the fun we anticipate once the event finally rolls around. Hopefully this baby of mine doesn't decide to show his little face too early. I will be about ten days away from delivery at that point!

The festival is FREE and runs October 6th and 7th, 2012 from 10:00am-6:00pm daily. Please visit the Salmon Days Festival website for more details.

See you there!

Shelly