There are two things I really look forward to when it comes
to Halloween.
The candy? Nope.
The costumes? Nope.
The parties? Nope.
For this girl, it’s the annual Holbrook/Ebeling Pumpkin
Carving Competition (post, pictures, and results are coming soon) and the
PUMPKIN SEEDS!
I realize that my pumpkin seed recipe isn’t unusual, or all
that creative for that matter. What it is though is delicious. Delicious and
fattening. Good thing they’re only made once a year, right? If you have only
had store bought pumpkin seeds or have never had them at all, try my recipe
out. I bet they are as addictive for you as they are for me!
Ingredients:
-
½ cup salted butter (one stick)
-
Garlic Salt to taste
-
Fresh pumpkin seeds (as many as you can retrieve
from your pumpkin(s)
Preparation:
-
Wash the outside of your pumpkin(s) and dry with
a clean towel. I like to do this so as you cut into your pumpkin you aren’t contaminating
the insides with the germs from the outside. Think of the germs your pumpkin
likely came in contact with on the way to your grocery store, etc. before you
purchased them.
-
Using a large kitchen knife, carefully cut
around the top of your pumpkin to remove stem and allow access to the yummy
pumpkin ‘guts’ and seeds on the inside. I like to make a pretty star pattern
with mine, but that may just be my girly side coming out.
 |
| My husband Steve taking the top off his pumpkin |
-
With a spoon, your hands, or a pumpkin carving
scoop, remove the insides of your pumpkin and then separate the seeds from the
guts. This takes a little patience but is well worth it.
 -
-
Rinse seeds well in a colander and spread out
evenly on an aluminum foil lined baking sheet.
*If you are in a hurry (like I usually am) to start chowing down on
your seeds, put your seeds in a preheated oven (center rack) set at 200 degrees
& slowly evaporate the excess water. Plan to keep them in there for about
an hour (depending on how much water is on them) and make sure you check and
stir them about every 15 minutes or so. They are ready for the butter and salt
when they are about 90% dry. Use your discretion.
If you are not in a hurry, you can leave your seeds out overnight or a
little longer (stirring occasionally if possible) and let them dry that way.
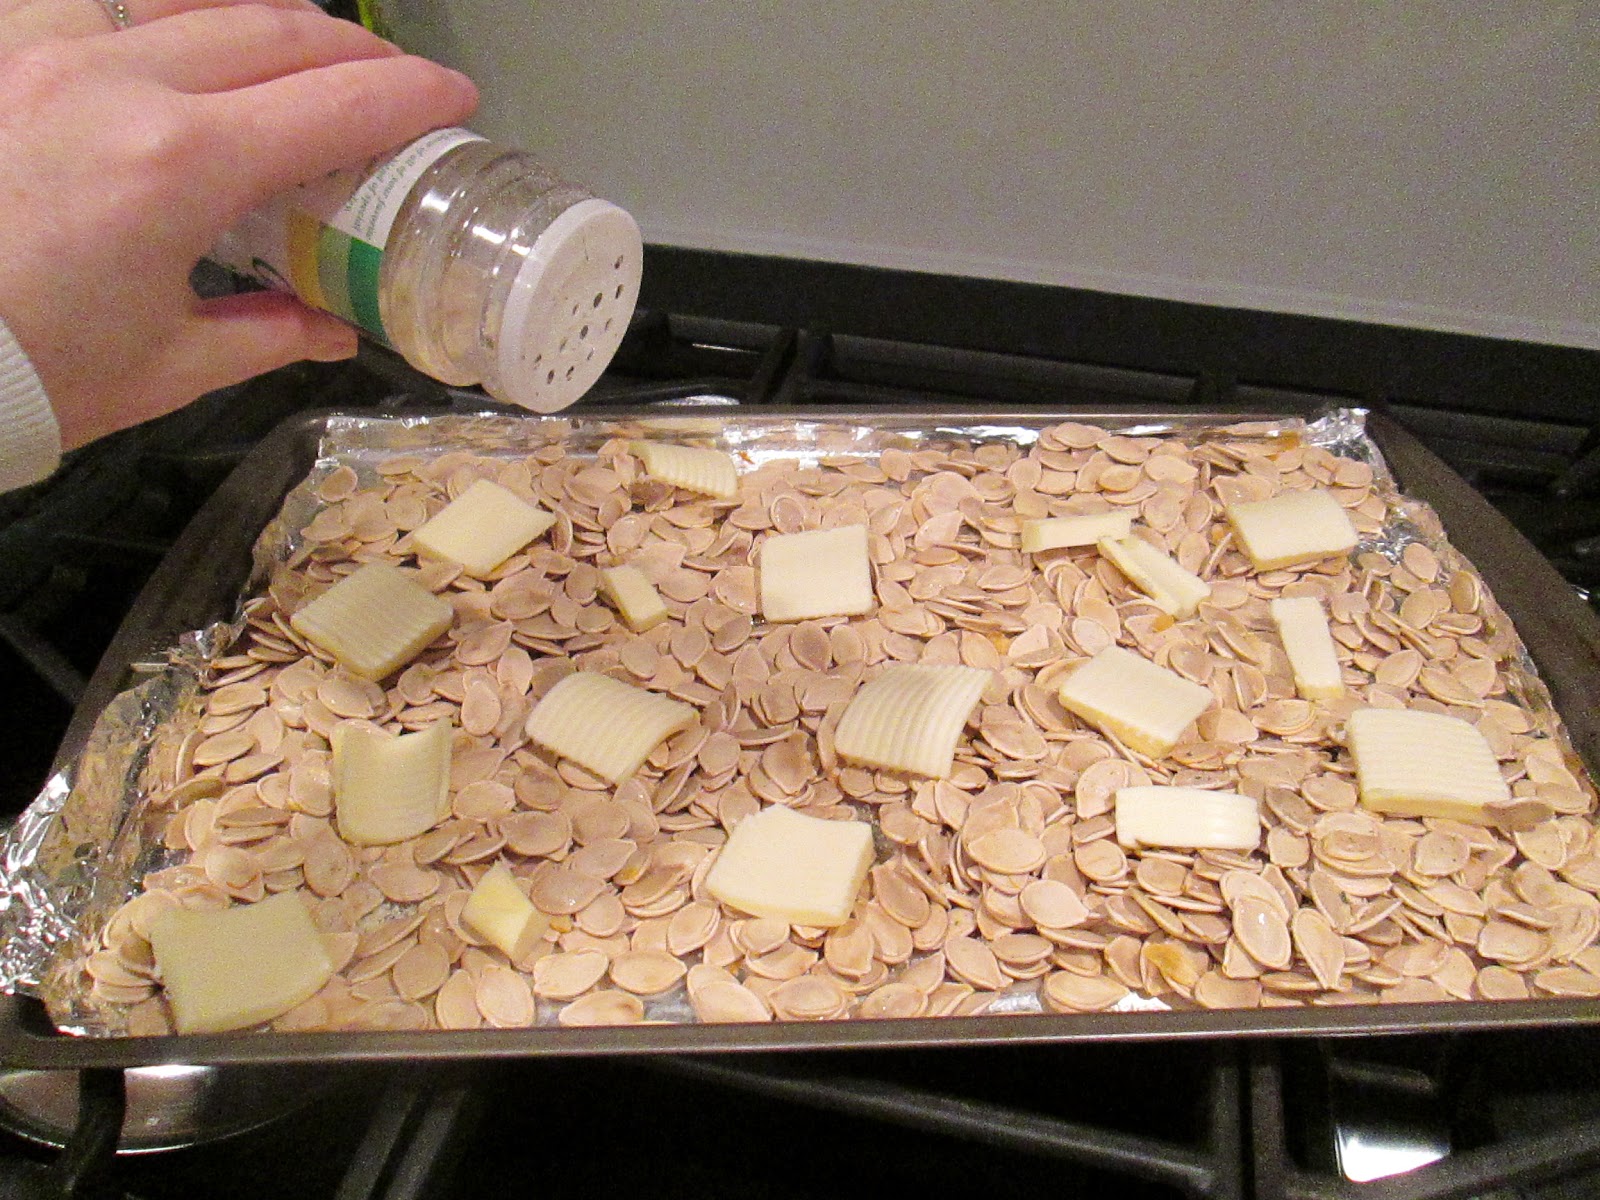
-
Using a small kitchen knife, cut butter up into
chunks and add to your seeds
-
Generously sprinkle garlic salt all over your
seeds, stir, and sprinkle a bit more for good measure
-
In a 325 degree oven, bake your seeds for about
an hour (or until they reach the desired color of brown). Make sure you are completely
coating them with the butter by thoroughly stirring every 15-20 minutes. When
they are looking more and more brown, check on them/stir every 5-10 minutes.
-
Let them cool, put into an airtight container
and enjoy!

Notes:
I tend to taste my seeds about ½ way through while baking.
Sometimes I decide to add more garlic salt and sometimes if I am feeling a
little naughty, I add a little more butter.
The seeds pictures here are not as browned as I usually like
to make them. I like them dark brown and crunchy, but it really is a personal
preference. I suggest tasting the seeds as you stir until they seem done to you.
You may even want to take most of them out of the oven when you think they are
done and continue cooking a small portion to see if you like them darker. You
can always cook the ones you pulled out longer, or if you don’t end up liking
them darker/crunchier, you haven’t ruined an entire batch.
Enjoy!!!


.JPG)


